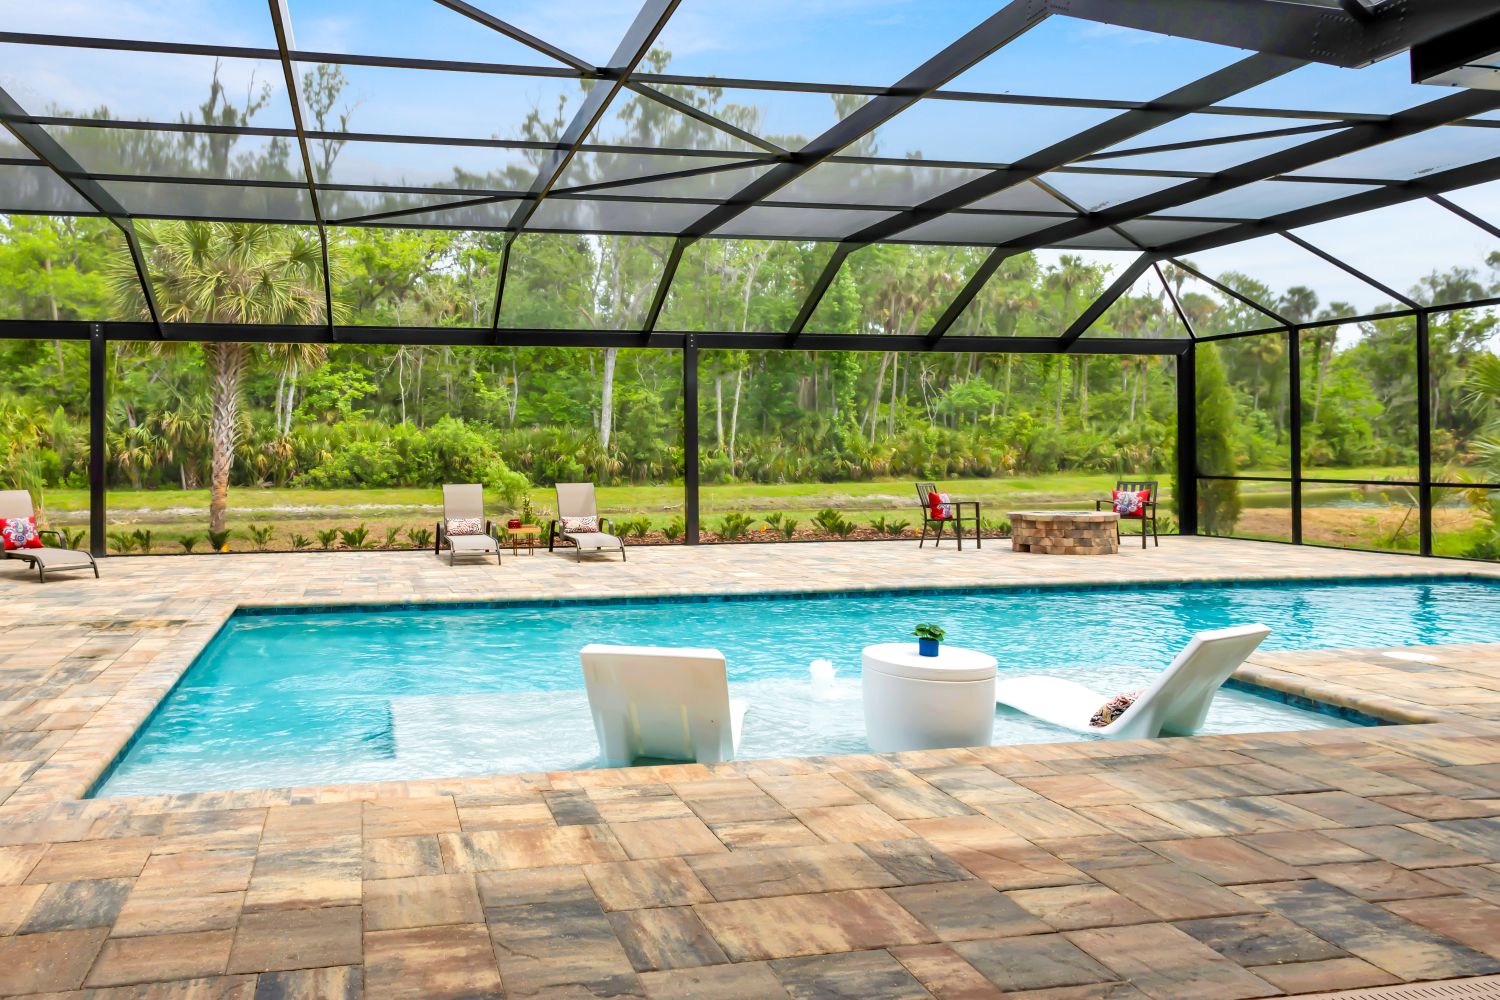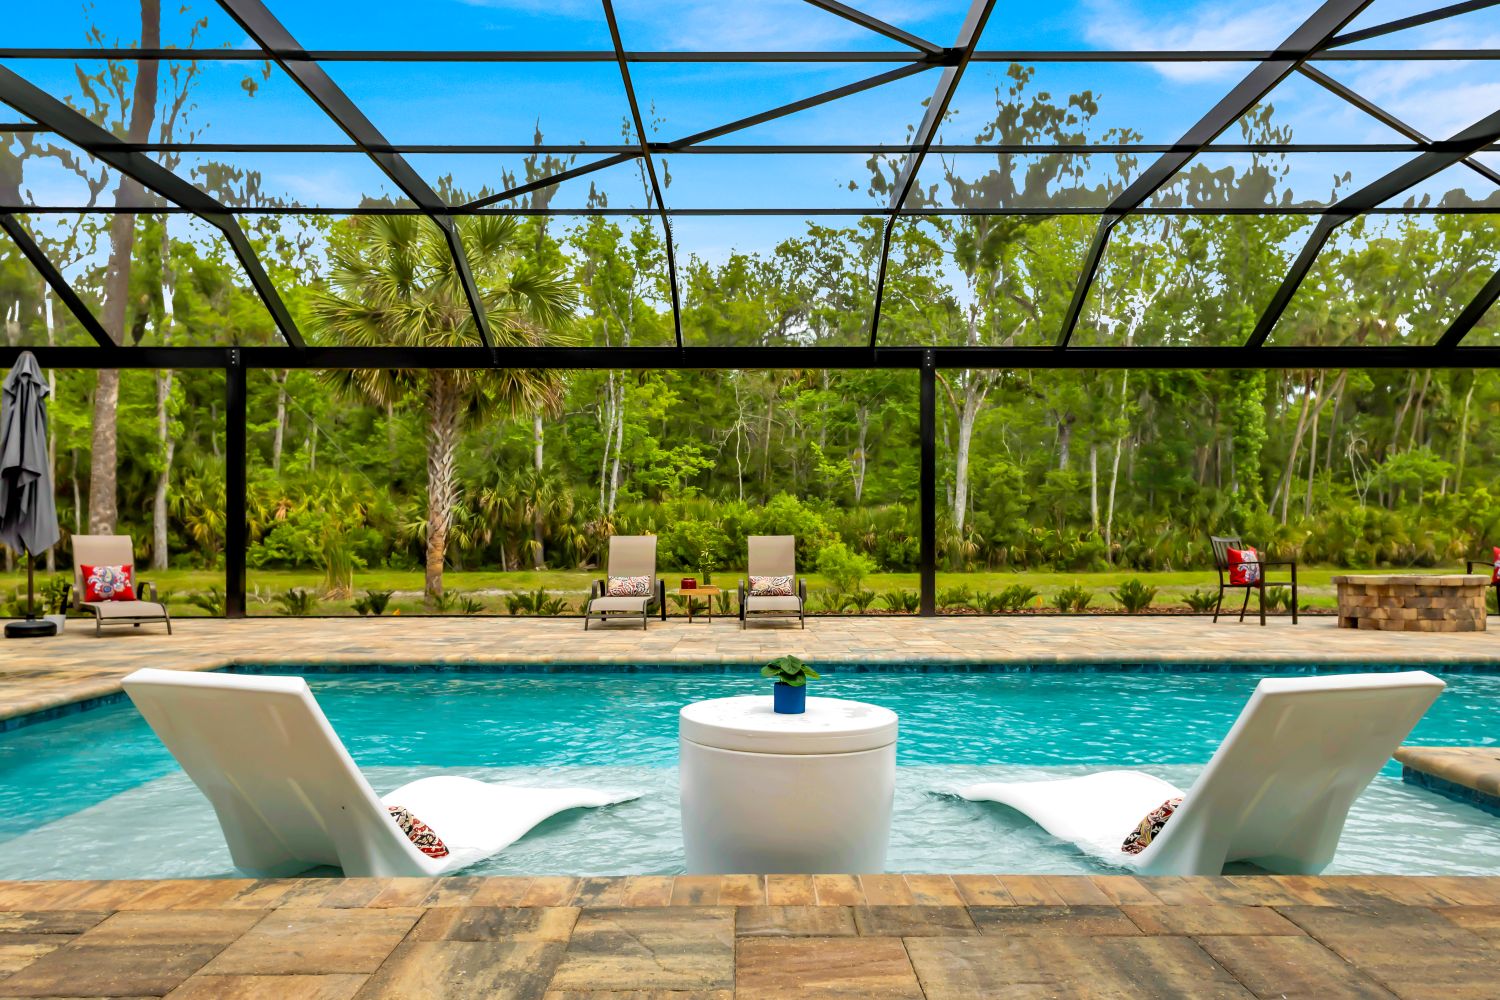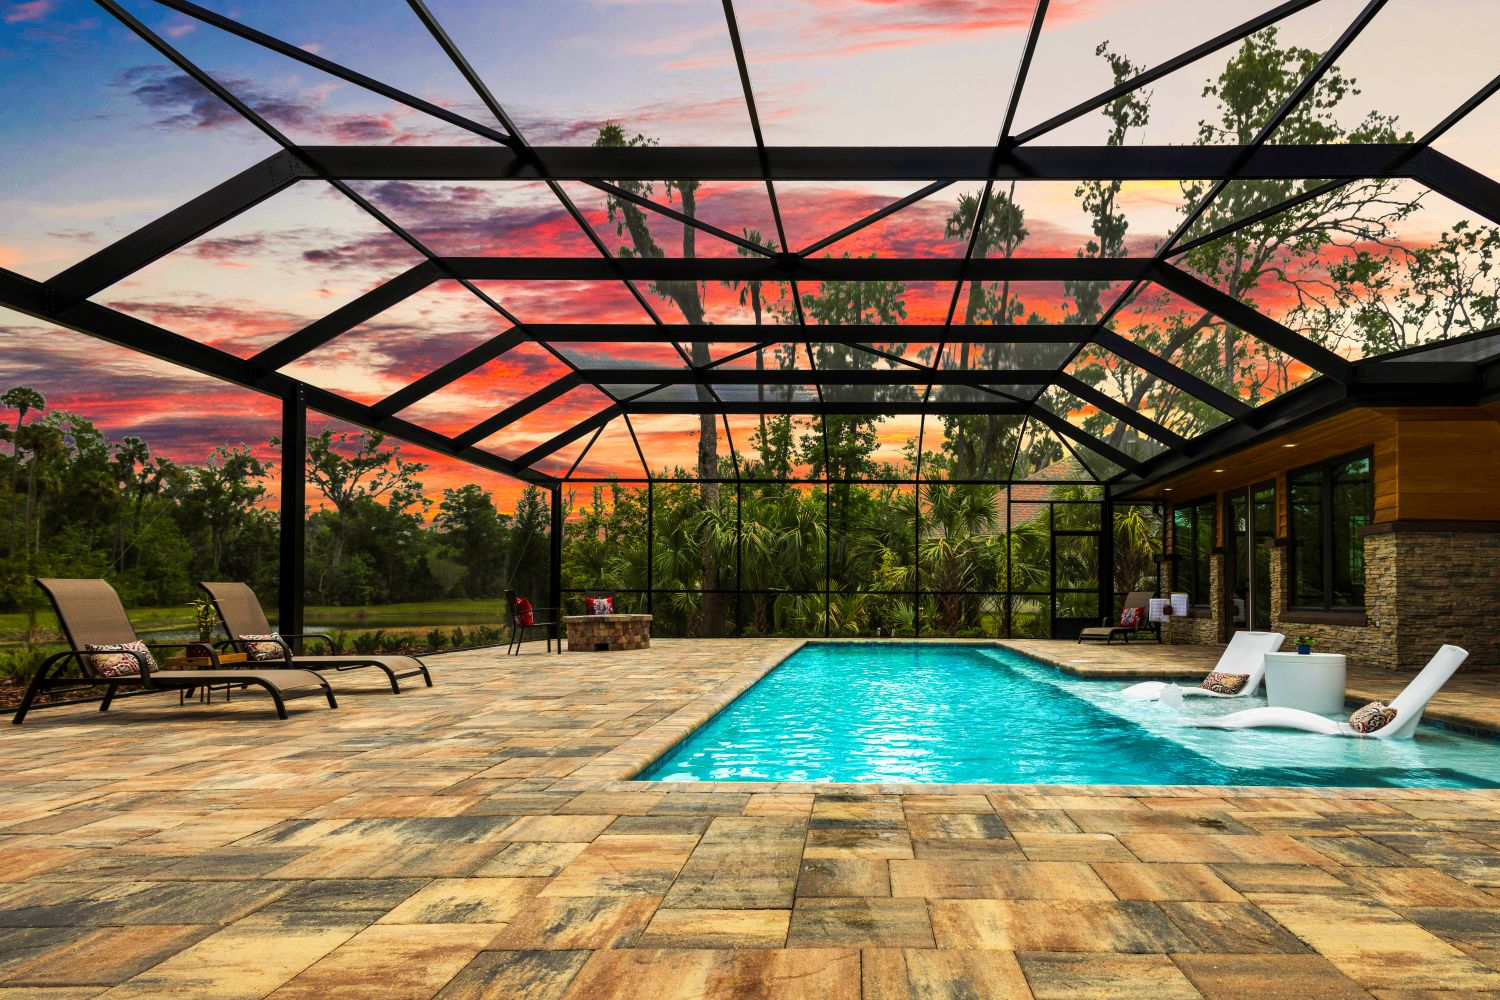
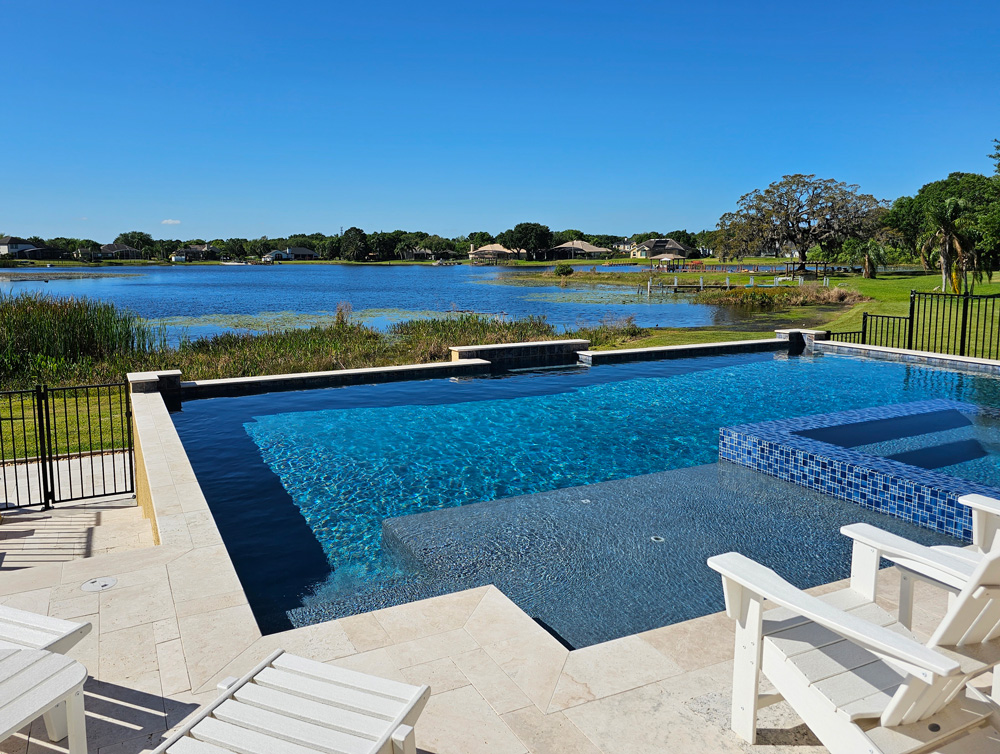


Ondercik Residence –
Modern Rectangular Pool with 360-Degree Overflow Spa
Lake Mary, FL – Seminole County
Located in the heart of Seminole County’s Greater Orlando area, the Ondercik Residence features a sleek, modern rectangular pool design paired with a stunning 360-degree overflow spa. Flanked by three elegant steps on either side of the pool deck, this luxurious outdoor space is anchored by a centered firepit and wet bench seating, creating a perfect balance of relaxation and visual impact. This custom pool and spa design brings high-end resort vibes to a private residence in Lake Mary, Florida.
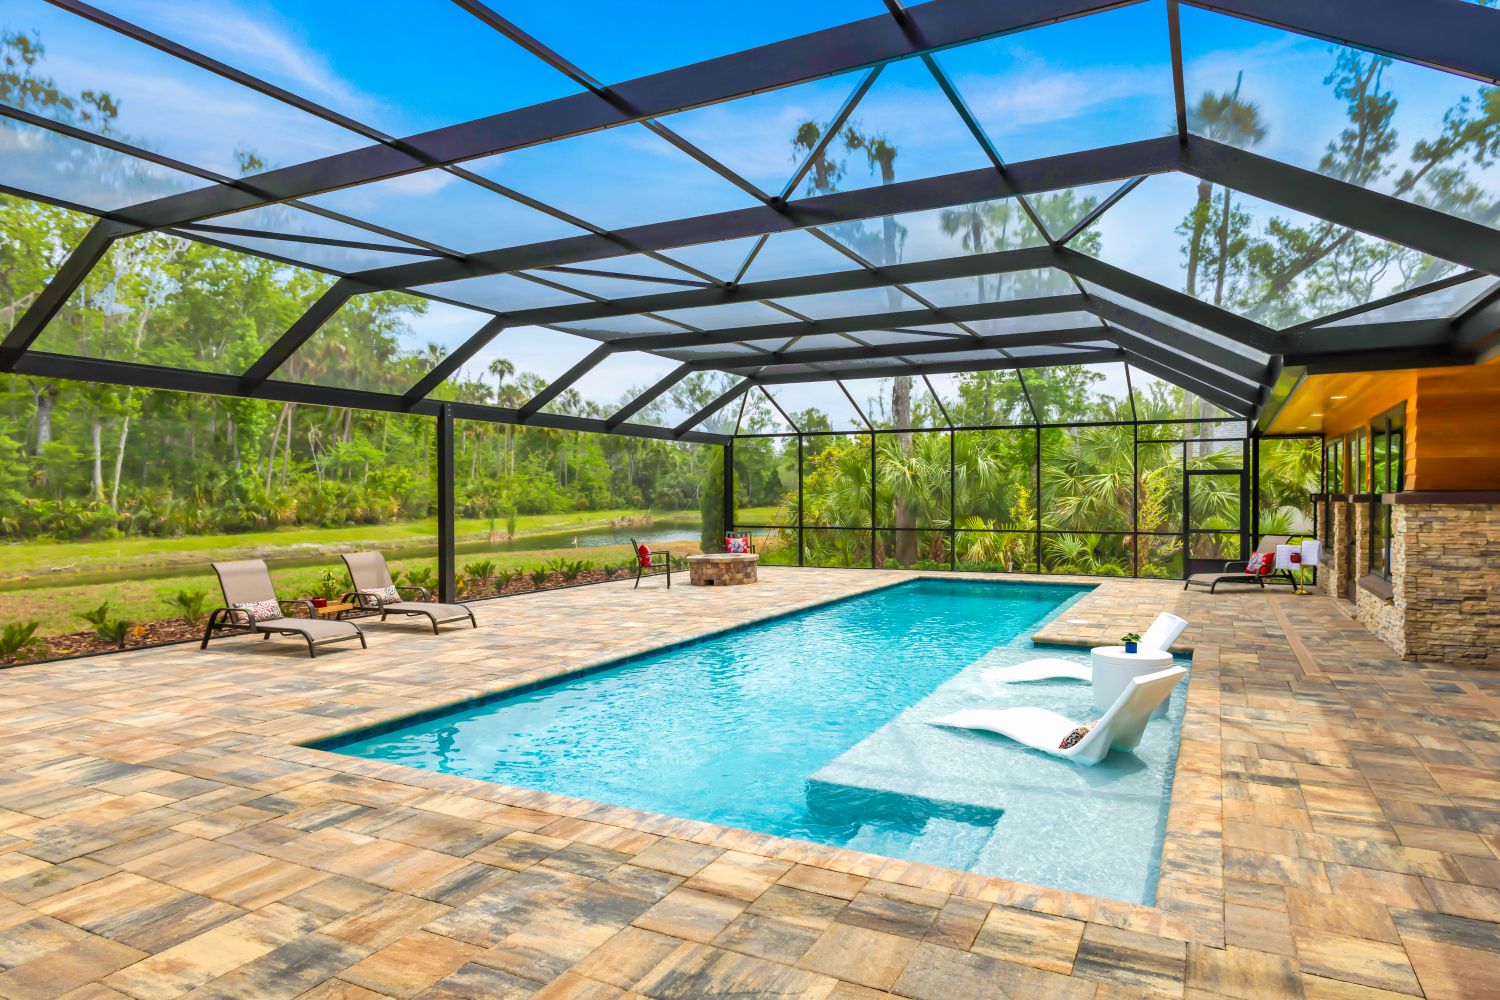
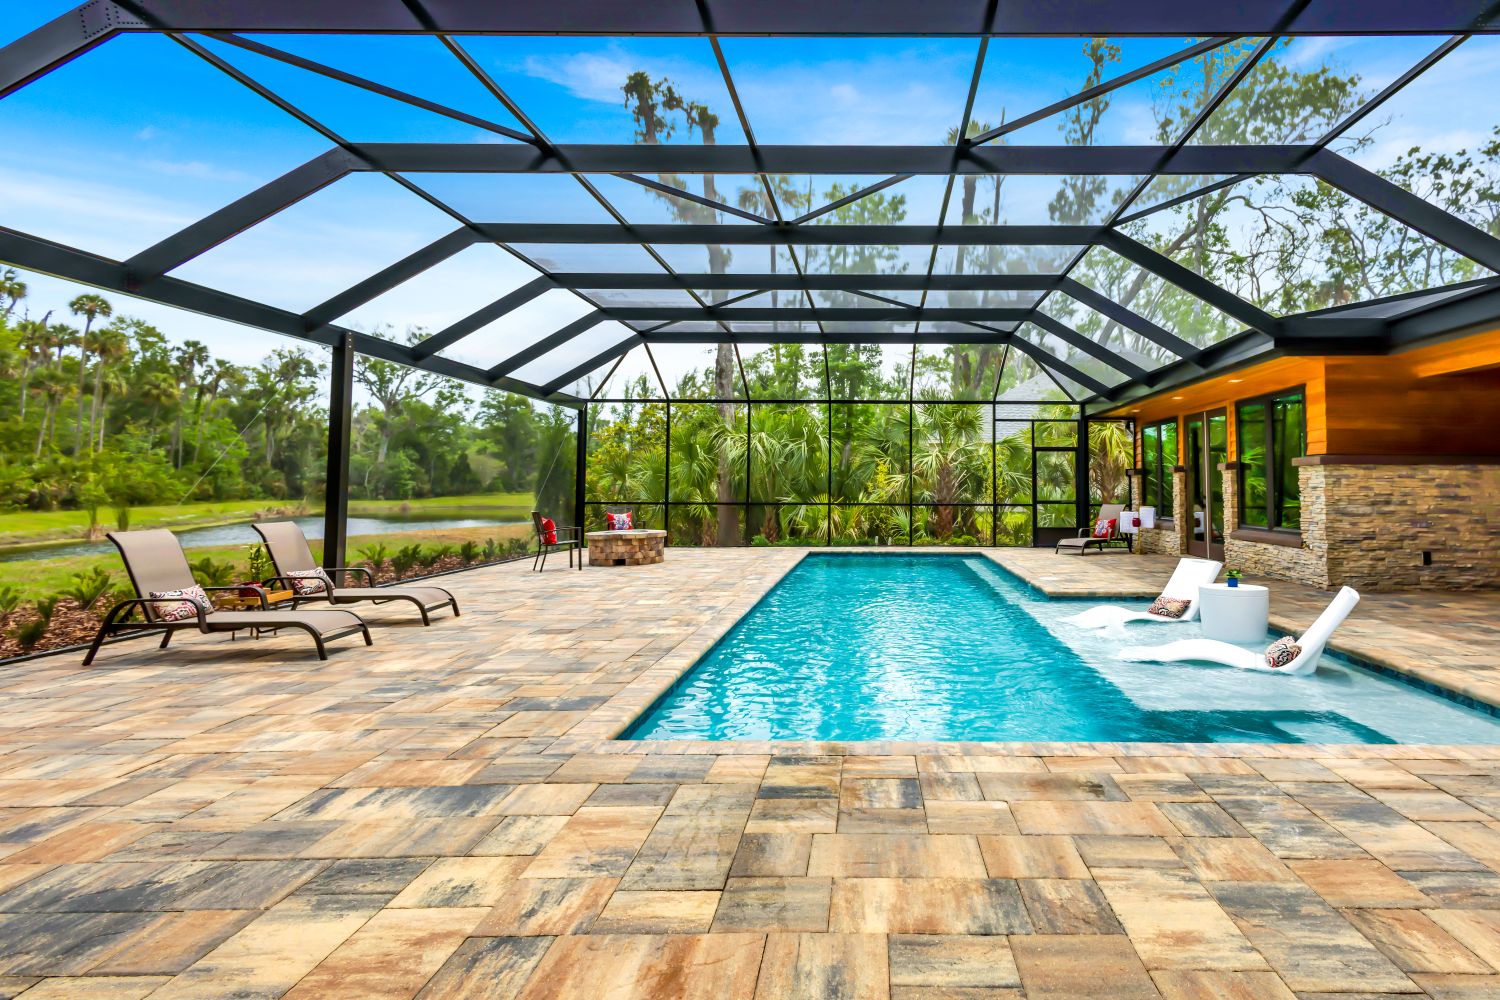
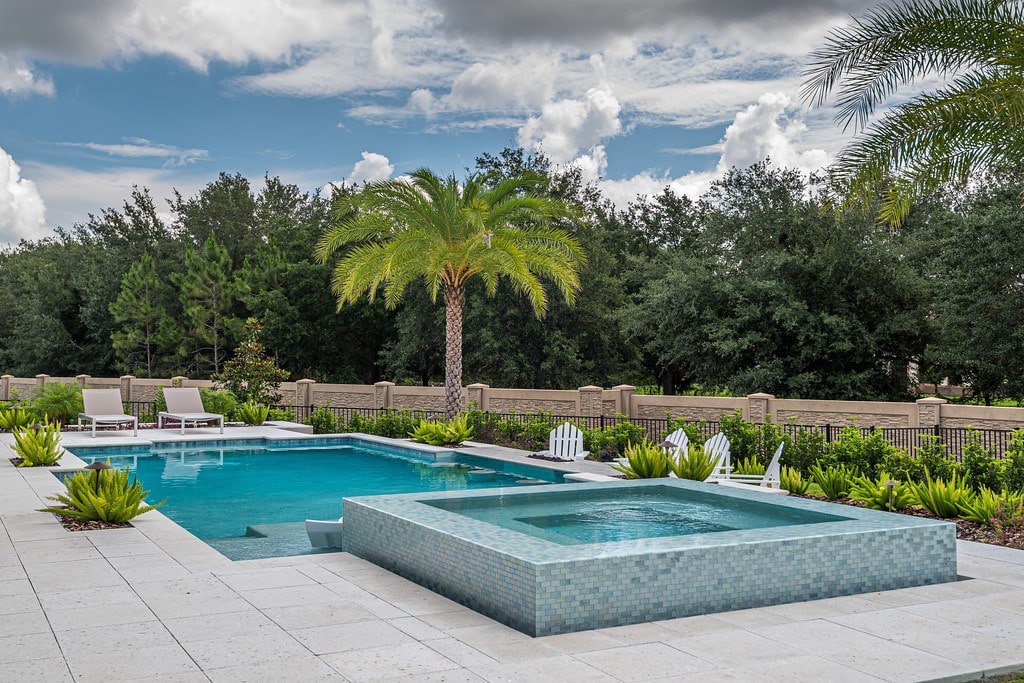
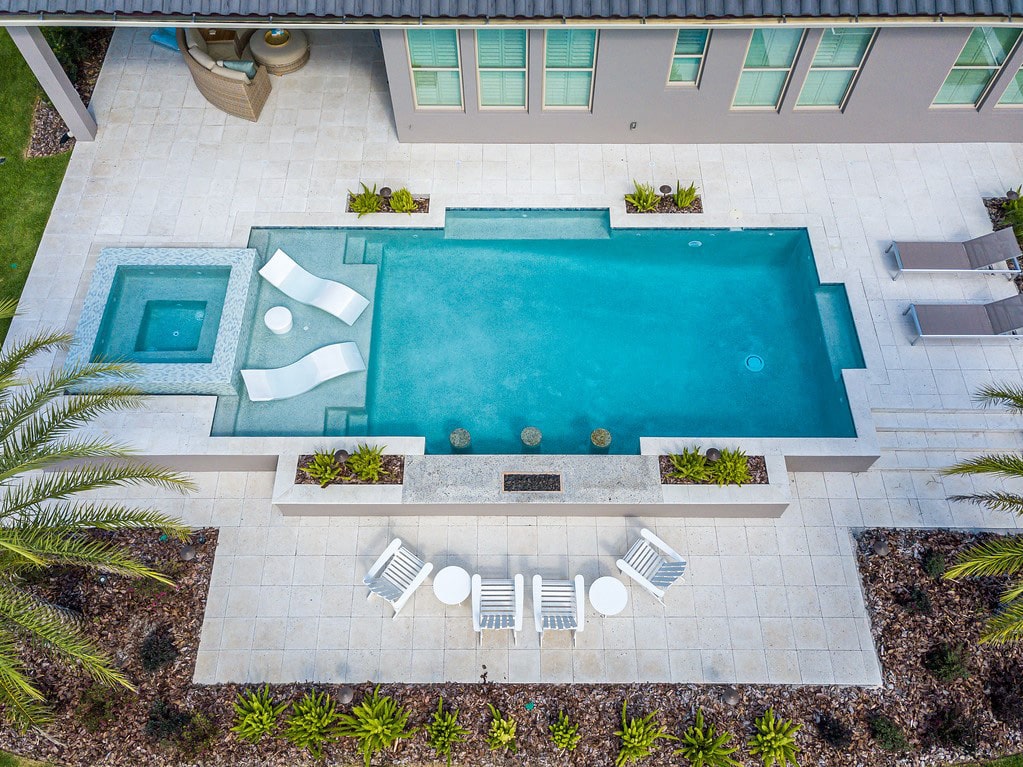
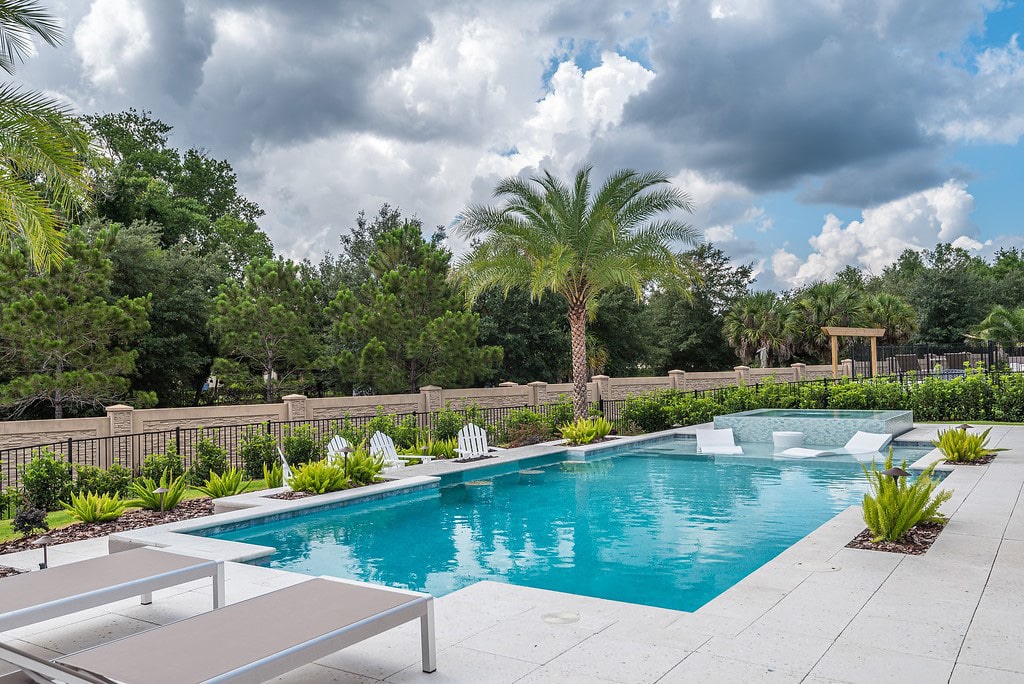
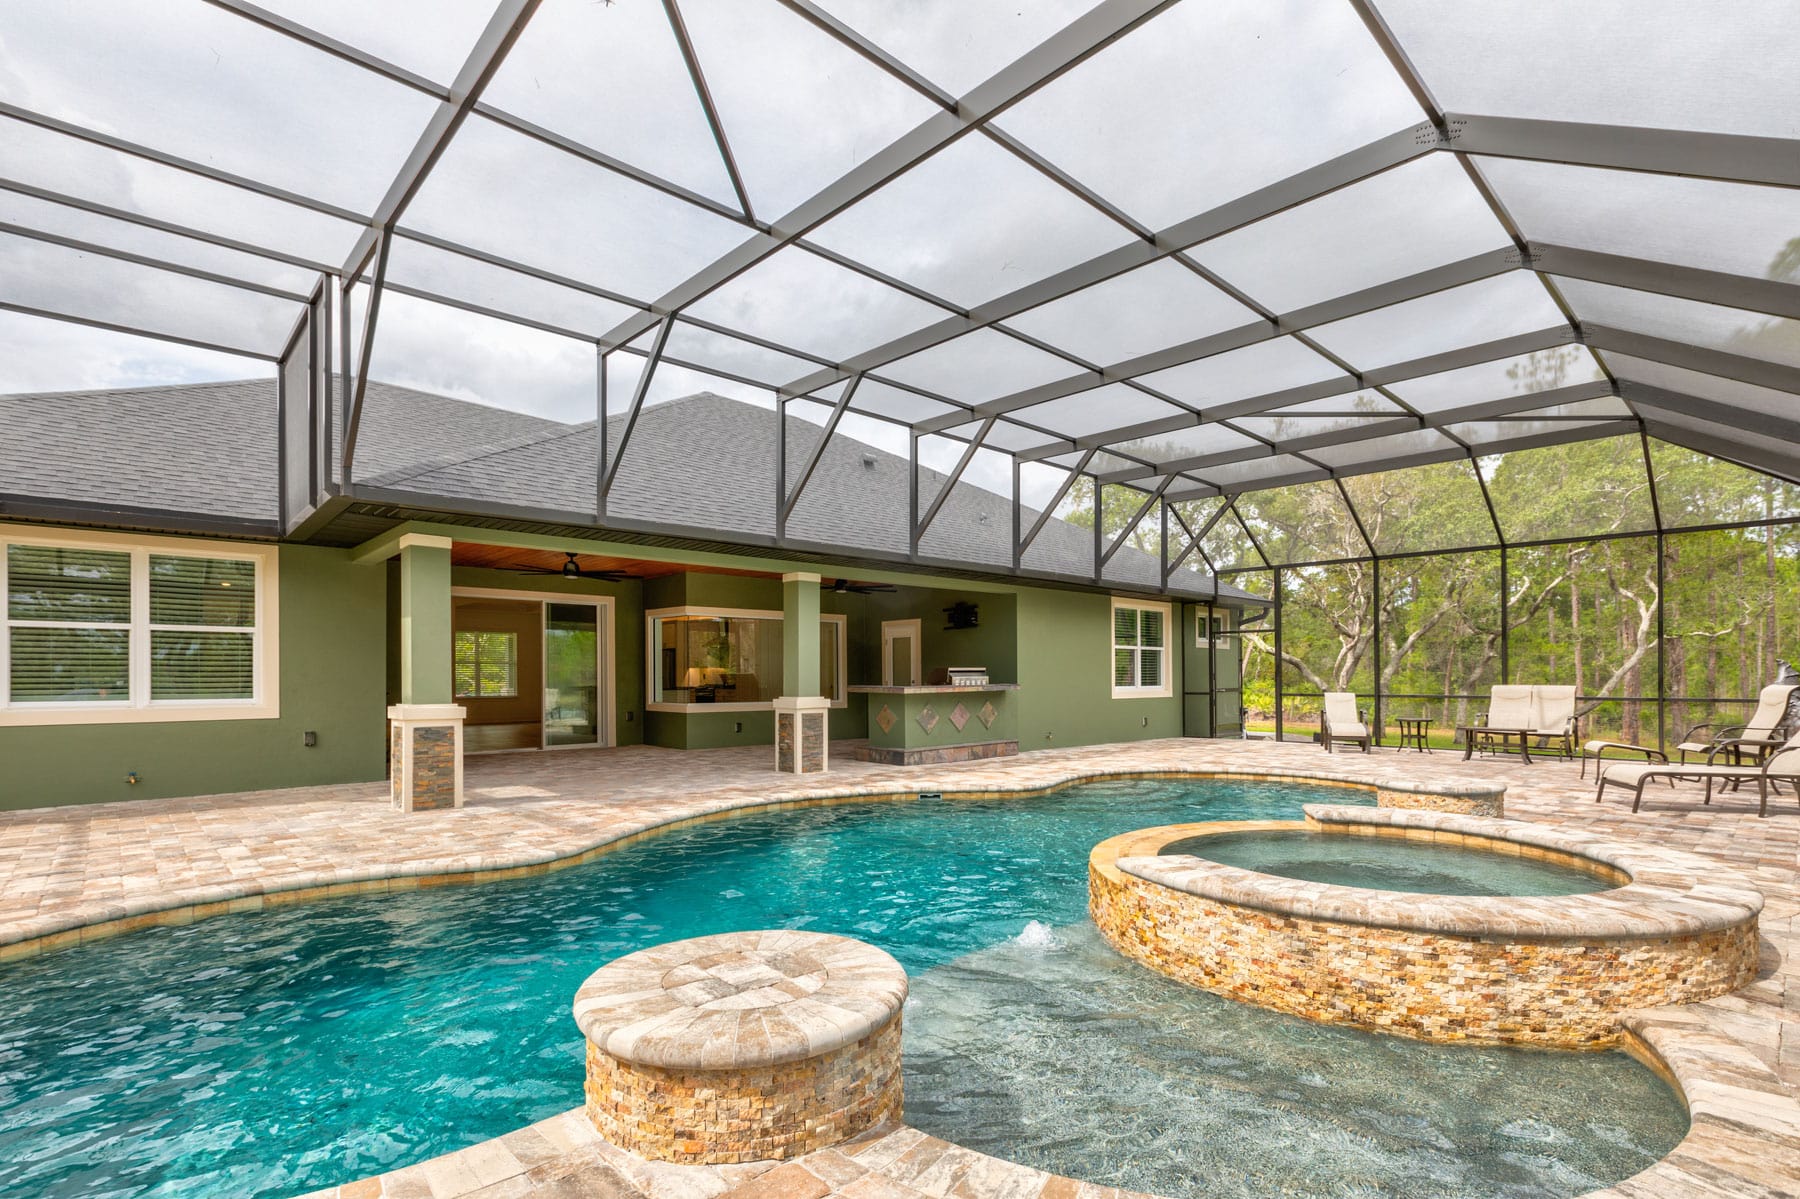
Wynn Residence – Elevated Luxury Pool with Summer Kitchen
Windermere, FL – Orange County (Orlando Metro)
Perched on a scenic hillside in Windermere, Florida (part of the Orlando metro area), the Wynn Residence showcases a sophisticated rectangular pool design with a resort-style layout. Cascading steps on both sides of the deck create a dramatic entrance, leading to a beautifully integrated summer kitchen—perfect for outdoor entertaining. This custom pool project blends clean architectural lines with functional luxury, elevating outdoor living in one of Central Florida’s most desirable communities.
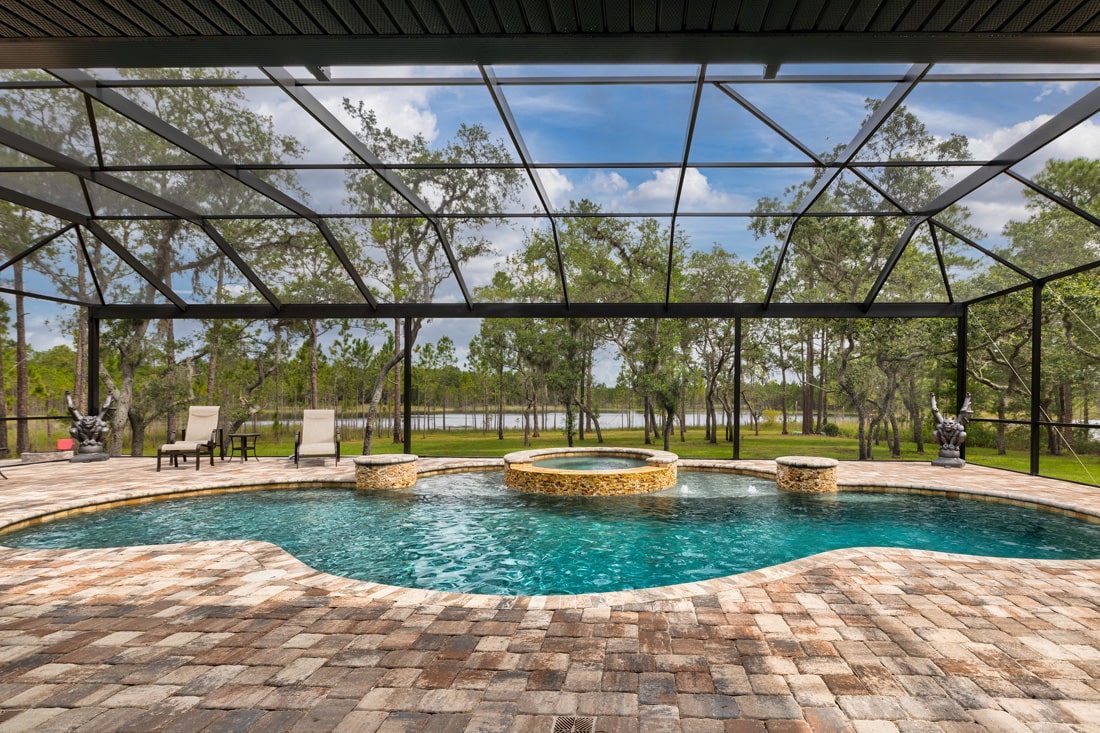
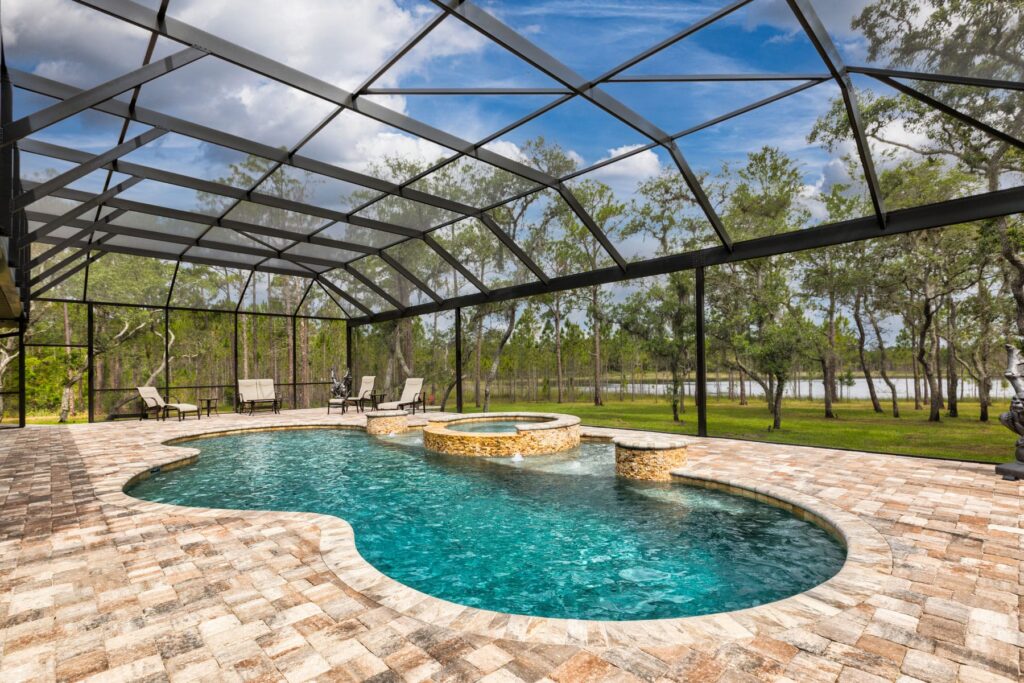
Peepers Custom Free Form Pool with Water Features
Deland, Florida – Volusia County
This elegant freeform pool features smooth, curving lines and two raised columns with cascading waterfalls, creating a serene and luxurious backyard retreat. A perfect blend of style and function, this custom pool design showcases the beauty of flowing shapes and integrated water features. Check out our photo gallery.